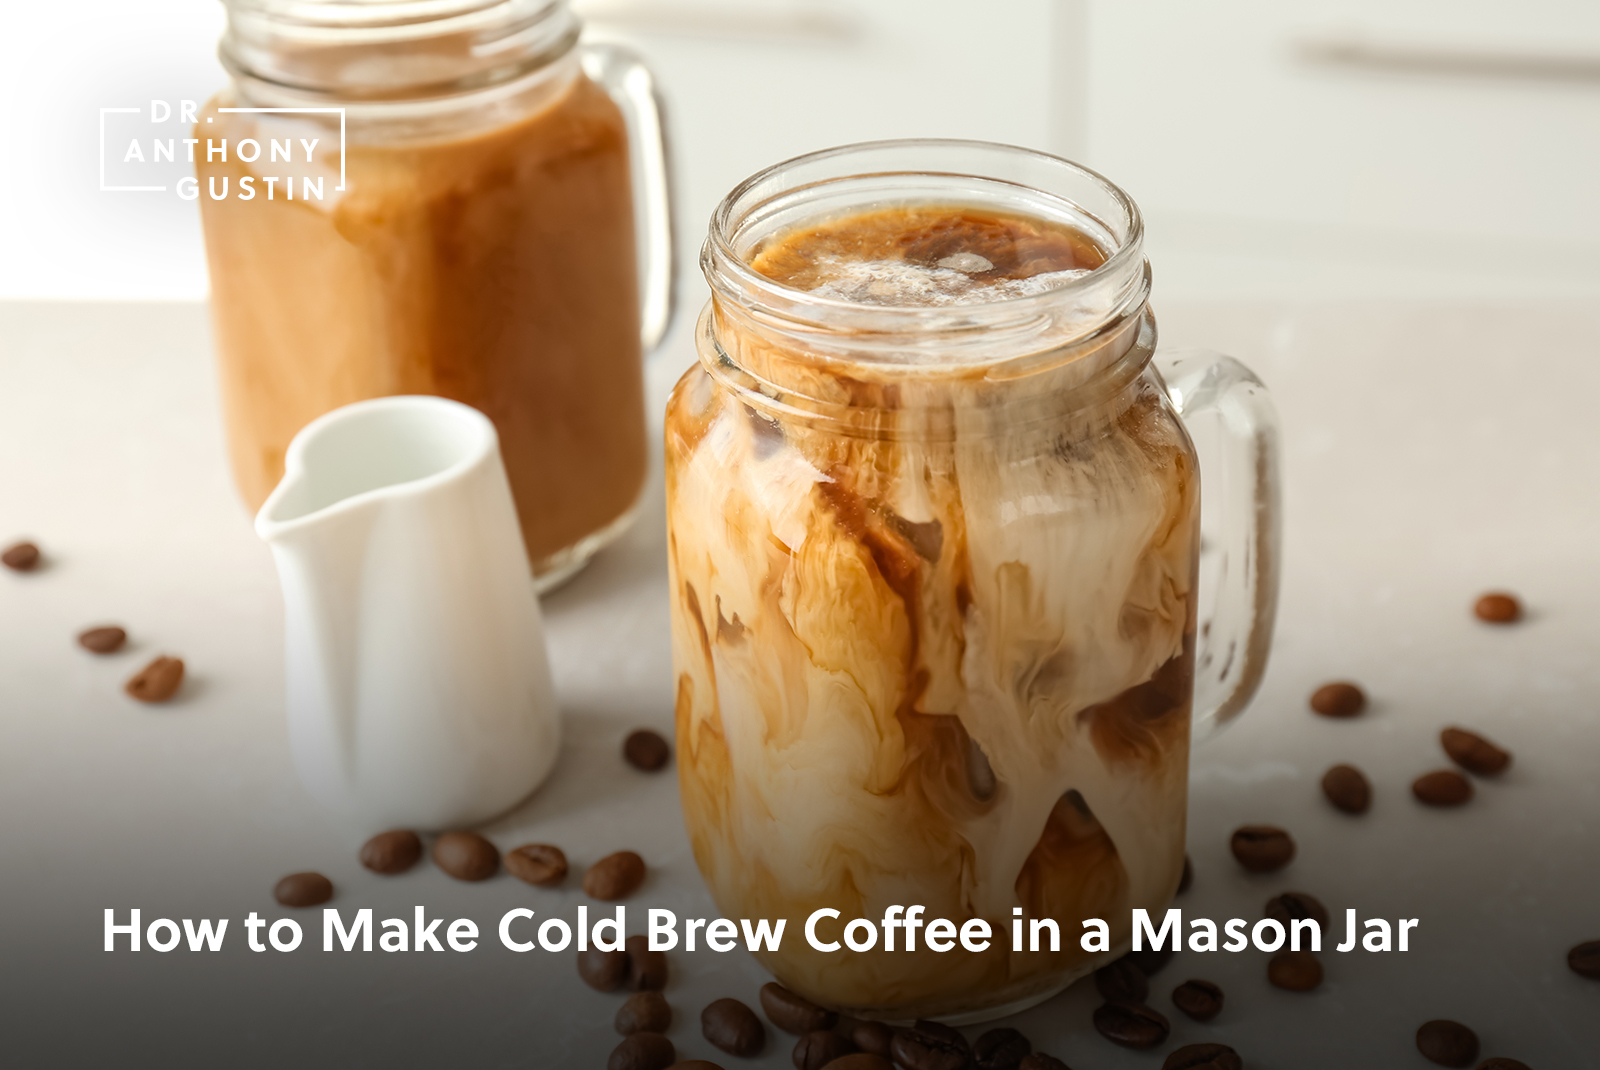
How to Make Cold Brew Coffee in a Mason Jar

Every Tuesday I will be posting new articles and guides on how to accomplish a task that will help you cook, prep, feel, look, perform and live better. Check out the archives of How To posts here. If you have any suggestions for posts, email them to me at [email protected], or comment on the Facebook, Twitter, or Instagram pages.
Some of you may know my infatuation with coffee. I consider it magic juice for many reasons. Coffee has a taste that is amazing, it makes me feel amazing and has tons of amazing health benefits. Sold.
We have gone over how to source the best coffee possible. If you don’t have craft coffee, I’ve reviewed some of the best delivery roasters. I also probably post way too much on Instagram about coffee. I’ve written about my gripes with why you should not be using Keurig cups. We’ve gone over how to make sauerkraut in a mason jar, now it time to show you guys how to make cold brew coffee in a mason jar! Very trendy and hipster.
Cold brew is my usual go to when drinking coffee for a few different reasons. It is light and refreshing, yet complex and flavorful. Cold brew coffee is also incredibly easy to make. People who use the disgusting Keurig cups for convenience should reconsider using this Pinterest worthy brewing method for nice flavorful cup of joe.
Equipment Needed
Large wide mouth mason jar – you can use the skinny mouth ones, but they are just not as convenient. Most hip people should have mason jars like this now a days, and if you don’t, I would recommend getting a case of them. They are super versatile for drinking, storing, fermenting and hey – even brewing coffee.
Coffee Beans – Check out our previous article on how to source coffee beans to find out where to buy beans for this process. It is recommended that you use a lighter roast sourced from a single country. I’m only partially being a coffee snob, as doing one country and lighter roasts will help you taste different flavors and then hopefully narrow down what countries you like the most. Coffee tasting is an individual journey you must go on to find the best fit for you.
Grinder – The best way to grind beans is using a burr grinder. This will crush the beans evenly, giving you a smoother brew with more flavor. If you don’t have access to one and only have a blade grinder (the little counter top cheap grinders), not as big of a deal here because of the longer steeping time of cold brew, but still not ideal. I have an espresso machine with a built in burr grinder which I just pull from whenever I need it for other uses (cold brew, pour over, French press, etc).
CoffeeSock – I don’t know quite where I stumbled upon this miracle device, but I’m very glad I did. Some folks out of Austin, Texas, made a wonderful contraption that you toss your coffee in to make your cold brew (or tea) in a mason jar. Crucial for this method. You can pick them up on Amazon here.
Water – Quality matters when brewing coffee. Some say that the high water quality is why the Pacific NW has had the recent surge in coffee production and snobbiness. Well deserved. If you don’t have good tap water, but have access to good bottle water, use it.
That’s it! On to the brewing.
Step One – Grind Beans
Using either of the grinders listed above, use 3-4 ounces of coffee grounds per 32 ounces of water. Given that you are using the large wide mouth mason jar, that should be the amount of water you are using. Coffee is measured in ounces, not volume (1/4 cup, etc) because it can be more or less dense depending on the pack. Use a little more or a little less different times you brew and see what different flavors you notice from the beans. You want a medium to coarse grind here, something resembling a crushed sea salt.
Step Two – Put in sock and into mason jar
Pretty straight forward here. Pour the grounds into the CoffeeSock and put the full sock into your mason jar.
Step Three – Bloom Coffee
Pour a little bit of water over the grounds, enough to saturate all of them. They should start to bubble. This is the gas leaving the beans that gets trapped inside of them when they roast. When the gas escapes, more water can cover the surface area of the bean, leaving you with a better extraction and flavor. Don’t skip this step.
Step Four – Fill With water
Twist the sock close and use the ring to ensure the grounds do not come out. When you get the sock in your possession, you will know what I’m talking about here. Fill all the way to the top with the water described above and seal with standard mason jar lid.
Step Five – Brew
Set the jar on your counter top and wait 8-10 hours. The easiest way to do this would be at bedtime, so when you wake up you have a fresh pot (jar) of cold brew ready to go!
Step Six – Remove grounds
Pull the sock out of the brewed coffee and give a little squeeze to get some of the brew left in the sock. If you ground too fine and there is a lot of particulate (there shouldn’t be) you can filter it again through a standard coffee filter if you wish.
Drink!
Pour over ice and drink!
One of my favorite coffee drinks is glass of iced cold brew coffee + shot of espresso + 1 ounce of cream (or coconut cream for those of you who can’t do dairy).
The cold brew you don’t drink (yeah right!) can just be left in the jar and refrigerated for a few days.
It is that easy. No more spending $5 per cup of cold brew coffee at your local coffee joint. Use different beans, different amounts and different grinds to find the brew that you like the most. Changing these tiny variables can create a huge shift in the flavor profile of the bean, so get adventurous!
Thanks for reading and please SHARE using the buttons above and below if you liked this article. Be sure to check out our How To Tuesday archives as well to get some more tips on how to cook, prep, and live a better life. Enjoy!


